Saturday, March 24, 2012

Homemade To Do List!

Okay so I had my Girl Scout troop do this as a project too so they can be more "responsible" around their homes to "help" out around the house!  We did this at our last GS meeting!  Of course I had to make one with the girls'!  hehehe  It turned out so cute.  So basically start out with two pieces of coordinating 12x12 scrapbook paper or really any size you want to make.  I used 12x12 paper.  So get your supplies ready,..... cardboard (I used a display board so we could make more than one or you can use the rectangle cardboard in the cake decorating section as I have done before), exacto knife, glue, bamboo sticks, straws (colors to match your paper or clear), pens, and/or ribbon & flowers or any embellishments if you choose to decorate it with. You will need your glue gun also!  :-)


So cut a piece of cardboard for the 12x12 paper you will want your "to do items" on and then another piece a bit bigger for the piece of the board to show behind the sticks and straws.  Glue the paper on the front of the pieces you have chosen. (Be sure to glue your paper correctly on the cardboard so you have the holes on the side of the cardboard). See below,...


Cut the 12x12 one off center such as at a 1/3 mark.  The bigger side will be on the left for writing the tasks on and the smaller on the right side.  Take your bamboo sticks and place in the side of your cardboard with the corragated view showing on the sides, not on the top and bottom, spaced out for as many "chores" you will have listed.  I chose to do a "Every Day" and Every Weekend" chore list.  You can do "Every Day" and "Every Week" if you would like and just add ever how many straws you will need on the "Every Week" section as to how many times a week that chore is to be done! 


Once you have the straws where you want them and figured it out, use the glue gun to place a small amount on the end and push into the holes in order to keep them from moving around on you when inserting the others.  This is very important or you will want to throw it all down by the end of it because they move and come out of the holes once in without the glue!  :-) Check it out below.


Let's add the straws now!  Cut small pieces of straw to slide back and forth on the sticks,...


Once your straws are on you are going to do the same thing to the other side but with the glue for now to make sure your sticks will line up with the other side,...


After you do that pull it out and then place a little glue on each end as you did before and insert them in the correct holes to hold the sticks still.  Once you have done that you can glue ribbon on to the back to make it to hand or use velcro or how ever you want to hang it.  I chose ribbon and to cover the back of it with white cardstock to cover the ends of the ribbon as below,....


Once you have done that write out your lists and get out your embellishments and such and decorate it as you would like!


I think they turn out so cute and Kayleigh is using hers this weekend for the first time since it was just completed this past week a little at a time as I would get off of work!  So cute and practical for her!  Unlimited possibilites on decorating these such as putting their names down the right side, buttons, etc.!  Get the kids involved and HAVE a CRAFTIN' SCRAPPIN' HAPPY TIME!!!!   'Til next time,.....  ~ Amanda M. Chaney

Sunday, March 18, 2012

Babyshower Craftin' using the Cricut!

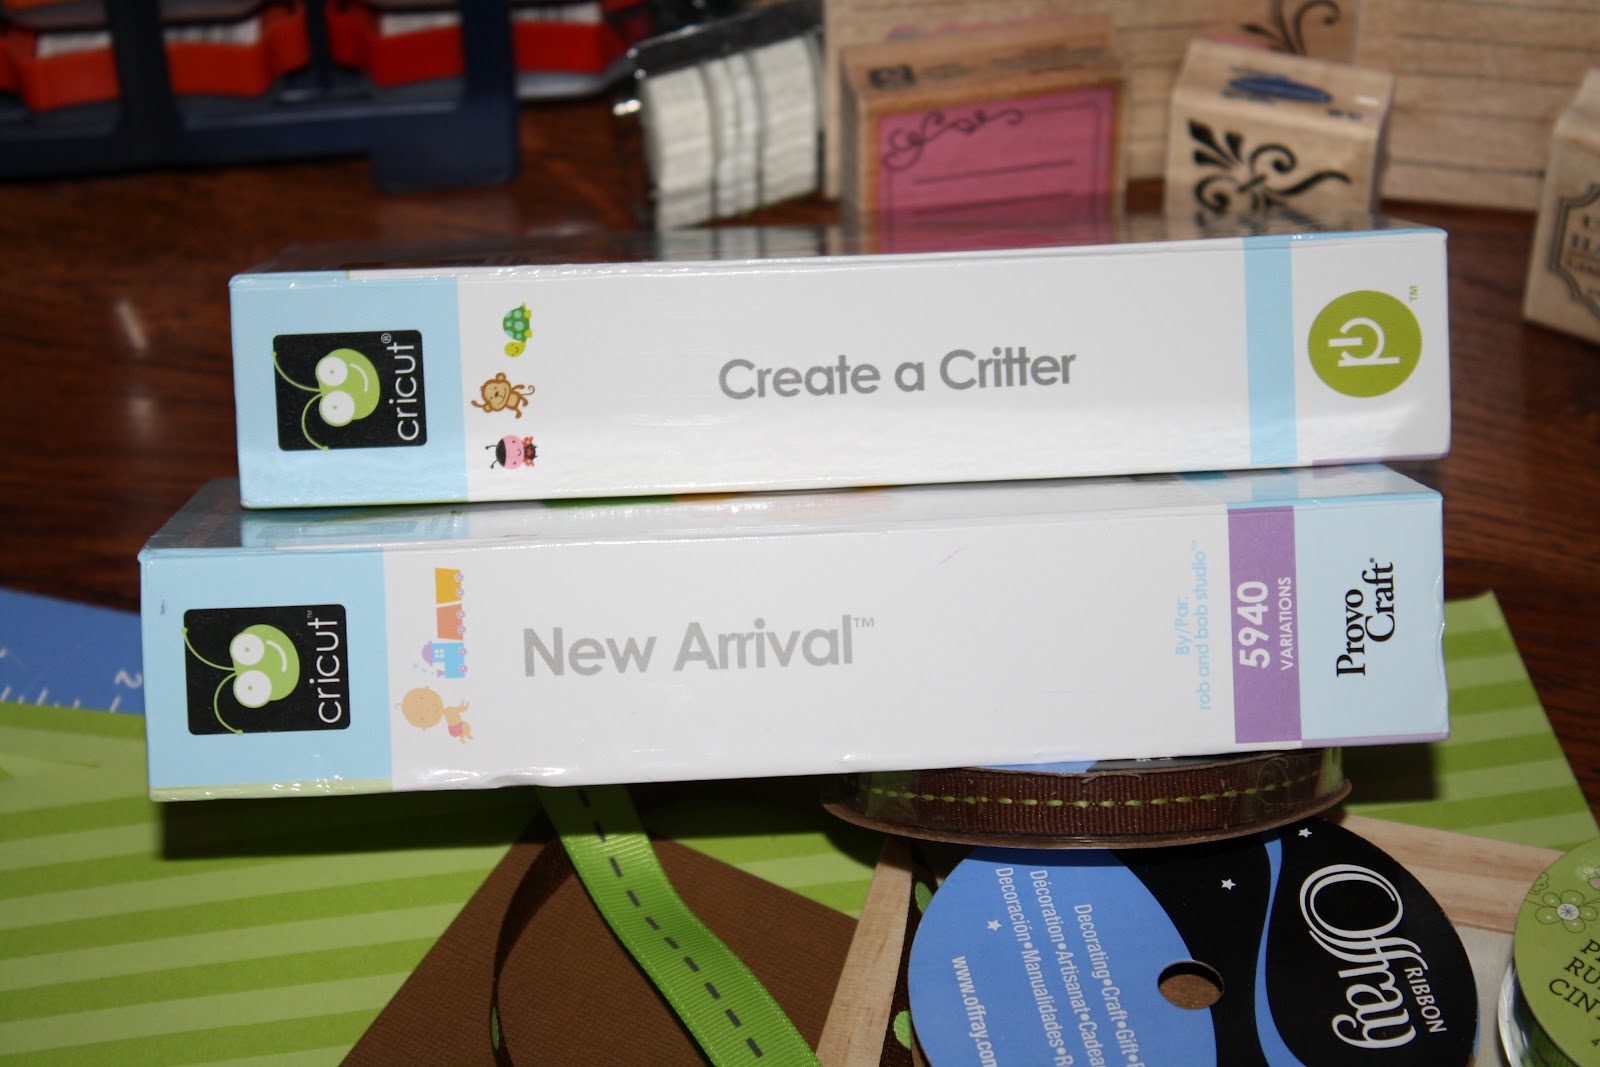
So a dear friend of mine, Kim, found out she was pregnant and because this is her first and probably last child (was not supposed to be able to carry full-term without the possibility of severe health risks to her and the baby), her cousins and I decided to go all out on her baby shower!  And we did on February 26, 2012!  :-)  And you all know me,.. "Little Miss Crafty, Cricut User and Abuser" and let me tell you I definitely put a hurt on my Cricut for this shower!  It was so much fun and I enjoyed making all the decorations, or nearly all of them with the exception of the banner in which I altered to match the theme we were doing and the table cloths!  LOL  The theme was "monkey's" and was inspired by some napkins (or so I think, it was chosen without my input but loved it!) that had the cutest little monkey on it!  So Jennifer, Brandy and myself got together at my house and looked over Cricut Carts to see what kind of monkey's I had and we used 2 different monkey's off of the "New Arrival" and "Create a Critter". Check it out and I will tell along the way what I used and how it was done!  :-)
Here's the napkin that got the theme started and inspired the cake and everything else,....


Okay so obviously we used Cricut cartridges and there was one not pictured that I used to cut out the cake topper and Monogram letter for Spencer's frame (both pictured below) and that cartridge is called "Storybook", a really cute cart!


I used the pieces to spell out his name on individual pieces and then the main square for the sign in,... so cute!  Also pictured below!  :-)


Use "Glossy" paint in order to write on the wood pieces from the wooden frame kit above to be able to write on top of paint and it show up to look as though it is paint to write on... 


The board I painted with the green Gloss paint and brown trim.  I cut out a paper "S" for "Spencer" using the "Storybook Cart" and then added ribbon along the sides and made it where she could stick mementos or pictures underneath it for more purpose of keeping it in his room! Oh the wooden monkey was from Wal-Mart in the craft section.


This is the wooden frame I painted brown and glued green ribbon to it again to where she could insert pictures along the outside of the frame!  The monkey was cut out of "Create a Critter" cart and the "S" was cut using the "Storybook" cart.


This is the "Mommy To Be" pin I made using the same ribbon I used throughout the decorations (also were some of the gifts from me to her and Spencer)!  ;-)  Also using the Cricut cart. 
How cute is that?!  I know right!


So the 1st "Monkey" bank was an idea I had for two reasons, one for Spencer's 1st "monkey" bank to start saving up for him and then two,... to be used in playing a game!  The ladies had SO MUCH FUN playing this game!  I called it Spencer's First and I asked 20 questions of "How many of you,..." and if you answered yes with to yourself or out loud (out loud is so much FUN) you had to put in how ever much money you want to!  In order to play this you can surprise people of how to play this and hope they brought change or bills in order to play or tell them on the invite to bring pocket change! 
SO MUCH FUN!!
Even if everyone runs out of money, which they did during this one because we had some crazy questions, still continue the game as this is an excellent ice breaker!  I was over the games for this shower and came up with 2 other ones very cute too!  Had a blast doing this one!


This banner was altered as the green paper and monkey was added using my Cricut because the picture of the baby zebra and baby elephant in pastel colors behind it looked awful!  So I was able to make some more monkeys and cut out a circle of paper to make our own.  Looks like we bought it that way huh?!  I know!  :-)


Here is the complete banner and the food set-up!


Did you happen to see the cutest "Popcorn" bags ever?!  Yes,... I had some note paper Kayleigh had gotten me last year for Mother's Day in a basket of items she gave me and they were perfect!  I had seen another popcorn holder on Pinterest that said "Ready to Pop" with a pregnant woman silhouette.  The bags were brown paper lunch bags cut in half and fringed by Jennifer and Brandy and I made the labels!  Too cute!  Of course we filled them with popcorn!  :-)


These were cut of course on the Cricut and were the cake decorations!  So easy and cute!  Basically I cutout the "S" and monkey's and then glued the "S" to a piece of cardboard and cut it out gluing a monkey to the "S" and the other monkey's for the rest of the cake!  Turned out really cute!


Okay so these guys were so much fun to make and were inspired by Brandy's daughter, Gracie, when she brought home a monkey she had made in her preschool class last year that Brandy still had!  I used my Cricut Cartridge "New Arrival" to make the face and parts of the face for the ears and "stomach with belly button". It was not on the cartridge and was extra pieces cut and so I seen a perfect opp. for a belly!  Really cute!  You can pretty much see how they were made?!  If not message me and I can tell you!  Super easy!


So yes we made 7 monkeys,... 5 hanging as you can see below and 1 on the sign in table and the other on the gift table!  We used green "lei's" as the vine with twine.  


The above picture is of the pieces of wood I painted and then ModPodged paper letters in alternating colors to spell out Spencer for his room using the wooden frame set previously mentioned!  I glued ribbon to each one so she can hang them how ever she would like,... no the twine was just used in order to hang the for the party!  Really cute.

The final table where our guests' signed in,...


A closer look at the "Monkey Bank"!


Jennifer's idea for the banana baby food jars with tea lights in them,.. Brandy is allergic to bananas and therefore we could not get real bananas!  LOL


So I know she may kill me but in order to appreciate the decorations and the size of her "pin" you need to see her and it on her!  She was absolutely glowing this day (February 26, 2012) and I LOVE this picture of her! 


I hope you all enjoyed the pictures and the items made!  I love making my own decorations using my Cricut and seeing the joy people get out of what I think to be simple but yet "unique"!  Oh and um,... the banana graffiti was also made by using the Cricut!  LOL

Oh by the way,  Spencer was born early (35 weeks) on February 29, 2012, only 3 days after the shower!  Talk about good timing huh?!  :-)  He was 7 lbs and 20 inches long.  Spencer is now home with Kim and her husband, Troy,  and is doing GREAT!  CONGRATULATIONS! 

'Til Next Time,....

Saturday, March 17, 2012

Beaver Fever Bracelets! GO BEAVERS!!!

So naturally you support the athletics at the school your kid's attend or in the community in which you live right?!  Well we are the Beavers and our colors are Red and White!  Of course Black comes with it too!  :-)  So in my Girl Scout Troop I have serving as their leader (Leader 4 years now! YAY!) I had them make a craft to go along with one of their Try-It's they were to earn.  The craft I decided they would do was bracelet's made out of buttons and ribbon!  They turned out so cute and here is one I made,... of course the girls' were a "little different" as I am working with 2nd & 3rd graders and have not yet learned my habit of being a perfectionist (sometimes a bad thing due to time restraints)!  hehehe  Either way,... they are so easy to make and all you need is buttons of your size and color choice, stretchy bead cord (preferably clear) and ribbon of your choice!  See below,... and no my cutting board is clean I just use it for EVERYTHING I do on my scrapbooking desk!  :-)


The front or back of it,....


And again the front or back of it,... :-)


In Kayleigh's hand,...


On her arm,... (small wrist)


And the same one on my wrist!  Basically any size will fit!  Just don't get it too loose or the buttons will turn on you when wearing it!  Enjoy!


I will be making more in a series of different colors for certain things and will post those when I do them in the future!  :-)  "Til next time,....

Feelin' Crafty!

Alright, so today I was not feeling good this morning when I woke up at 5:30 am with Lance but ended up going back to bed as he instructed and then getting up at 8:30 am to start my day off. I took a pain pill and then got started! :-) Kayleigh and I worked on laundry (mostly her ;-P) and I managed to get some things done today that I have had on my list of things to do as for as crafts and "needs to be done"! I made a headband holder and finished some of Kayleigh's flower hair clips! Looky, looky what I did today,......

First I started with a "Finish" dishwasher tablet container (you could use an oatmeal canister too as on Pinterest), a can of black spray paint (or any color you want), a candle holder (preferably taller than shorter), some ribbon, flower and glue gun!,....


Spray paint the canister and then hot glue it to the candle holder,....


At this point it is pretty much done unless you want to decorate it and anyone that knows me, knows that I LOVE flowers and ribbon! hehehe So this is for Kayleigh and since her room is decorated in Zebra and Hot Pink I chose to go with that! :-) Decorate how you wish! See my below pictures!,...


And there is your finished project! Cute huh,... I know right! ;-P Here are some pictures of what it looks like with headbands on it,...


So I think this is so cute and think I may just have to make some of her friends one of these as they are all about some headbands!  ;-)

The other project I did today was fixing some flowers I had bought for Kayleigh's hair a little over a year ago!  YIKES!  I know!  I have never fixed them to where she could wear them,... I mean I guess she could have worn them but they were WAY too tall off of her head because they were originally for plants!  These flowers were for decorations for plants by clipping on the massive clip (definitely not for hair!) to add some flair to your plants.  They were only $1.00/ each so when I seen them I decided I could totally make these HAIR flowers by simply just changing out the clip!  See them below,... some are bigger than others but I had to get every color they had!  hehehe


See the clip,... huge! I had already taken it off of this one and wanted you to see the comparison,...


Of course this was after I changed them out.  Yes I know I did not wrap the clip but it is for Kayleigh and if this were going to be a gift for someone else's child I would have covered the clip but Kayleigh does not mind and with her hair it is better to leave them uncovered so they stay in better!  :-)


They larger ones still have the original items on them over on the right of the picture (purple, pink, white, etc.),...


I had to add some "bling" to this one,... it was a little dull for me!  ;-P  Yes,... only $1.00 at Michael's!  The following is after I finished ALL of them!  So cute!


I really like them in her room sitting next to her headband holder made today too!  :-) 
Kayleigh's "Wall o' Flowers"!


After hanging them all in Kayleigh's room I realized she did not have not one green flower hair accessory soooooo,... of course I made her one out of my scrapbooking stash o' flowers!  Yes,... you guessed it,... Michael's $1.00 flowers!  LOL 


Had to try it out on her of course!  Lovin' it!


Well that is all for my projects today!  I did start another one but did not finish it but will post it tomorrow!  I will post a project I did with my Girl Scout Troop next being what I call "Beaver Fever Bracelets"!  Really cute!  'Til next time...  ;-P